


Will be available in all sizes.


 I folded rectangle pieces of fabric in half and sewed up a seam. Then I sewed the bottom closed to make a little pouch.
 We used lentil beans to fill our bean bags because that is what we had in the house but you could use any dry bean or even rice to fill your bean bags.

Throw a beanbag in the air, turn around, and catch it again.
Throw the beanbag up and backwards over your head and try to catch it behind your back.
Throw the beanbag in the air, clap your hands once, and catch it. Now try clapping your hands twice, then three times, and so on. How high can you go?
Throw the beanbag in the air and clap your hands under your right leg before catching it. Now try with your left leg. Now clap behind your back. Invent some more challenges.
Throw the beanbag up, jump, and try to catch it. Jump twice. Jump three times!
Throw it up, kneel down and try to catch it.
Throw and catch with just your right hand, then with just your left.
Try throwing it up and catching it with your eyes closed!
Balance the beanbag on your right foot, then throw it up and catch it from there. Can you do it with your left foot too?
Can you throw the beanbag up and catch it on your left foot?
Can you run with a beanbag balanced on your head? Can you jump? Can you twist around? Can you kneel down and stand up again, or sit down? Can you climb the stairs? Can you do any of these things with two beanbags balanced on your head? Or three?
Try balancing a beanbag on each shoulder while you walk, run, jump etc.
Sing one of your favourite songs or rhymes while you throw the beanbag up and catch it, or pass it round a circle of children.
Set up a variety of hoops, containers and targets and have some throwing practice.
How far can you throw the beanbag? Does it make a difference if you throw over-arm or underarm?
For more game ideas click here
Rating:♥♥♥
Cost:$


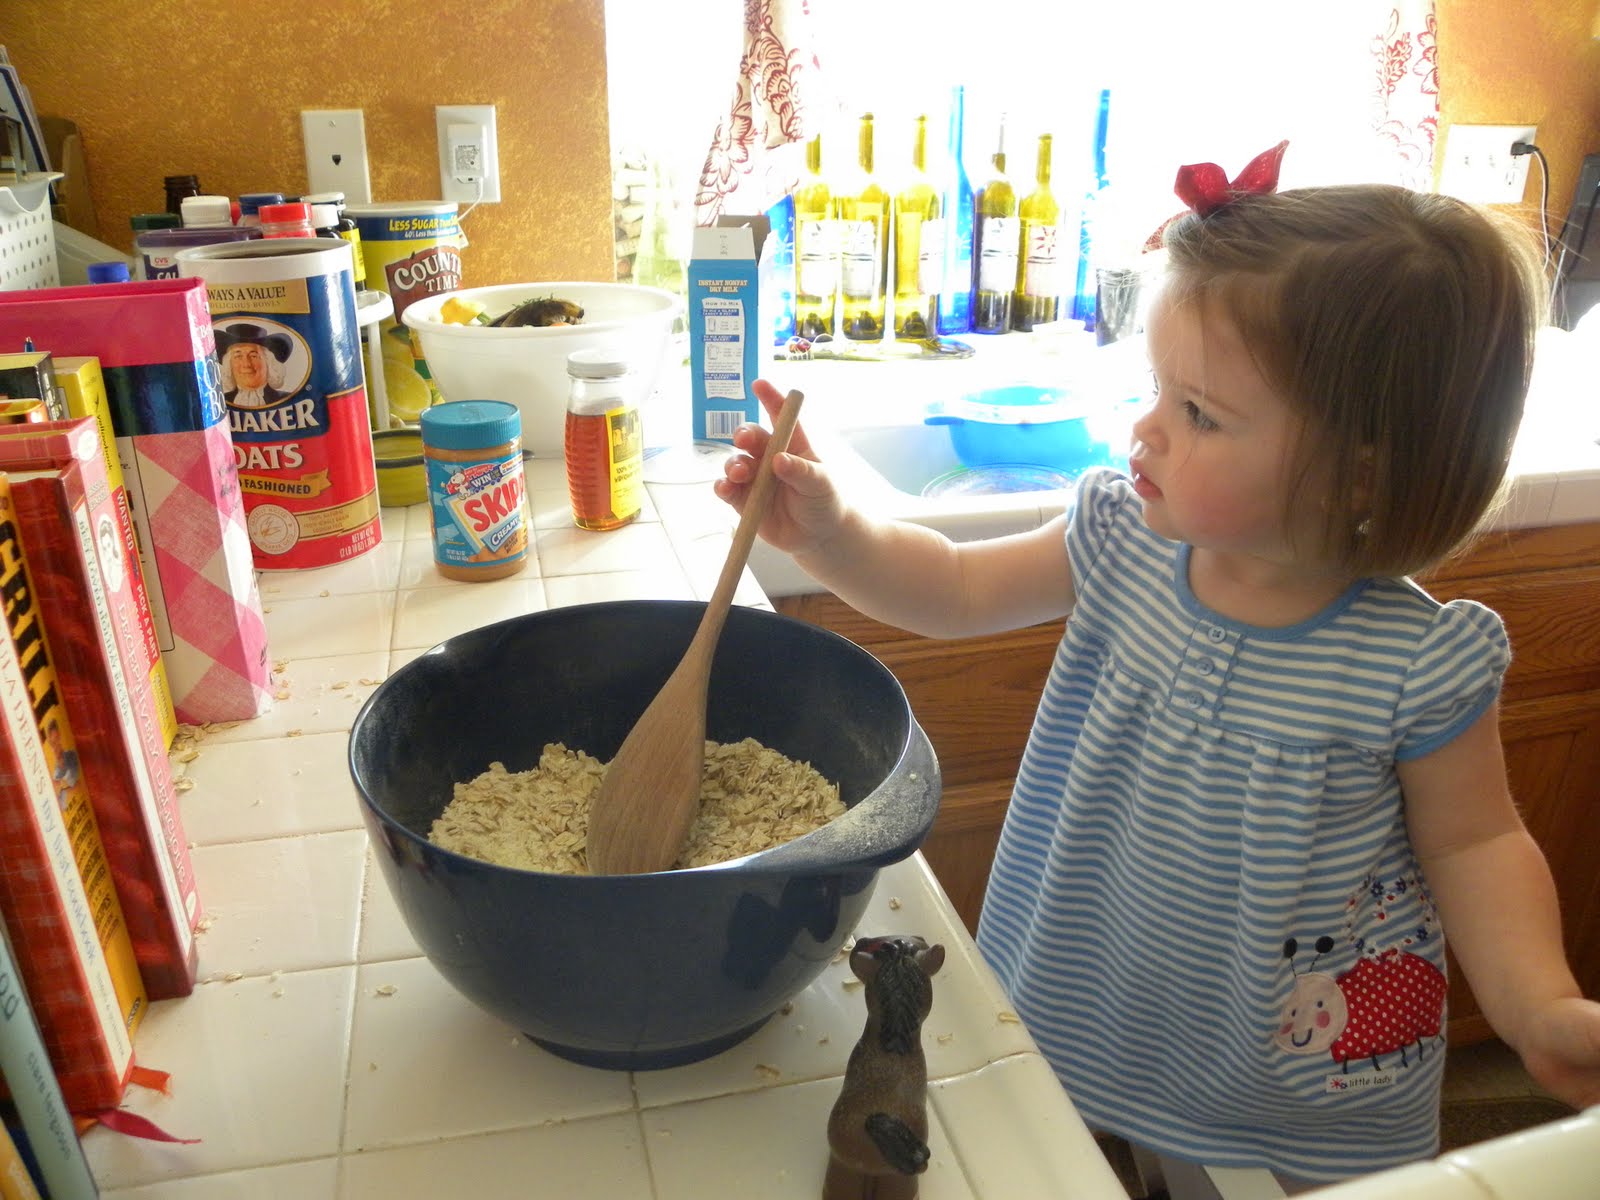
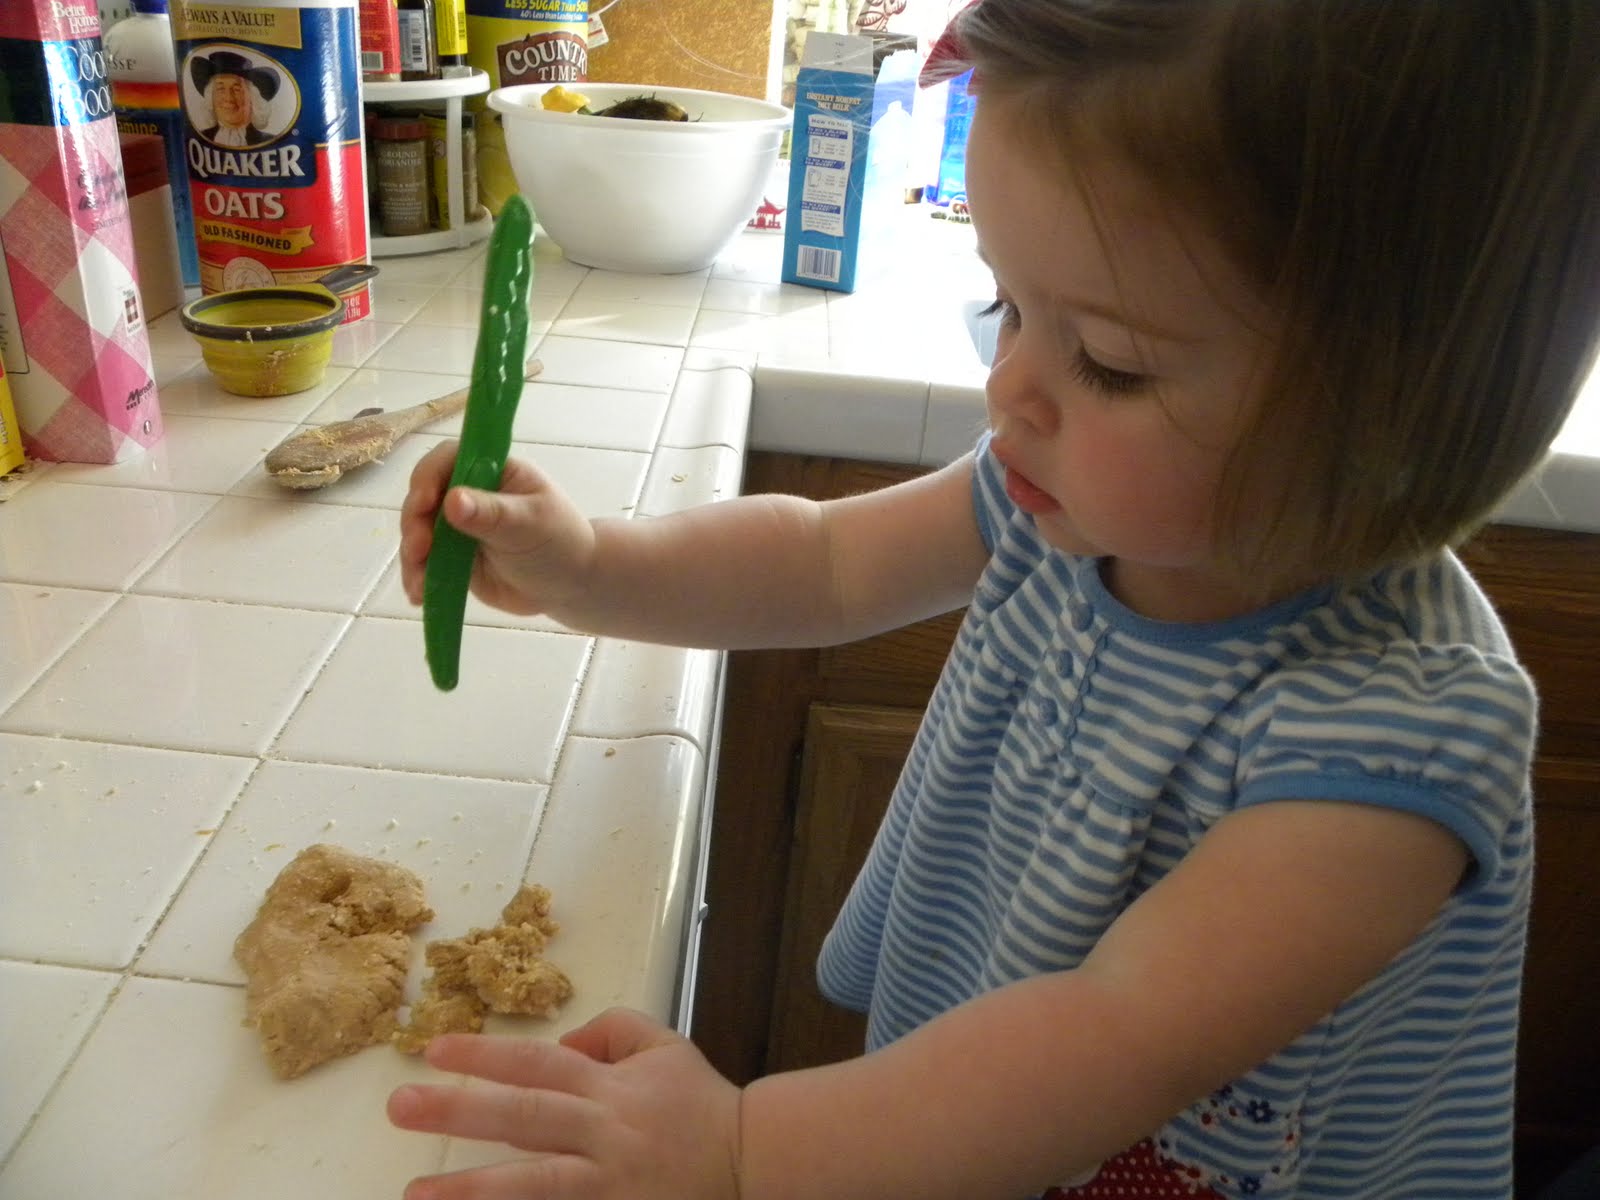
 Oatmeal Playdough
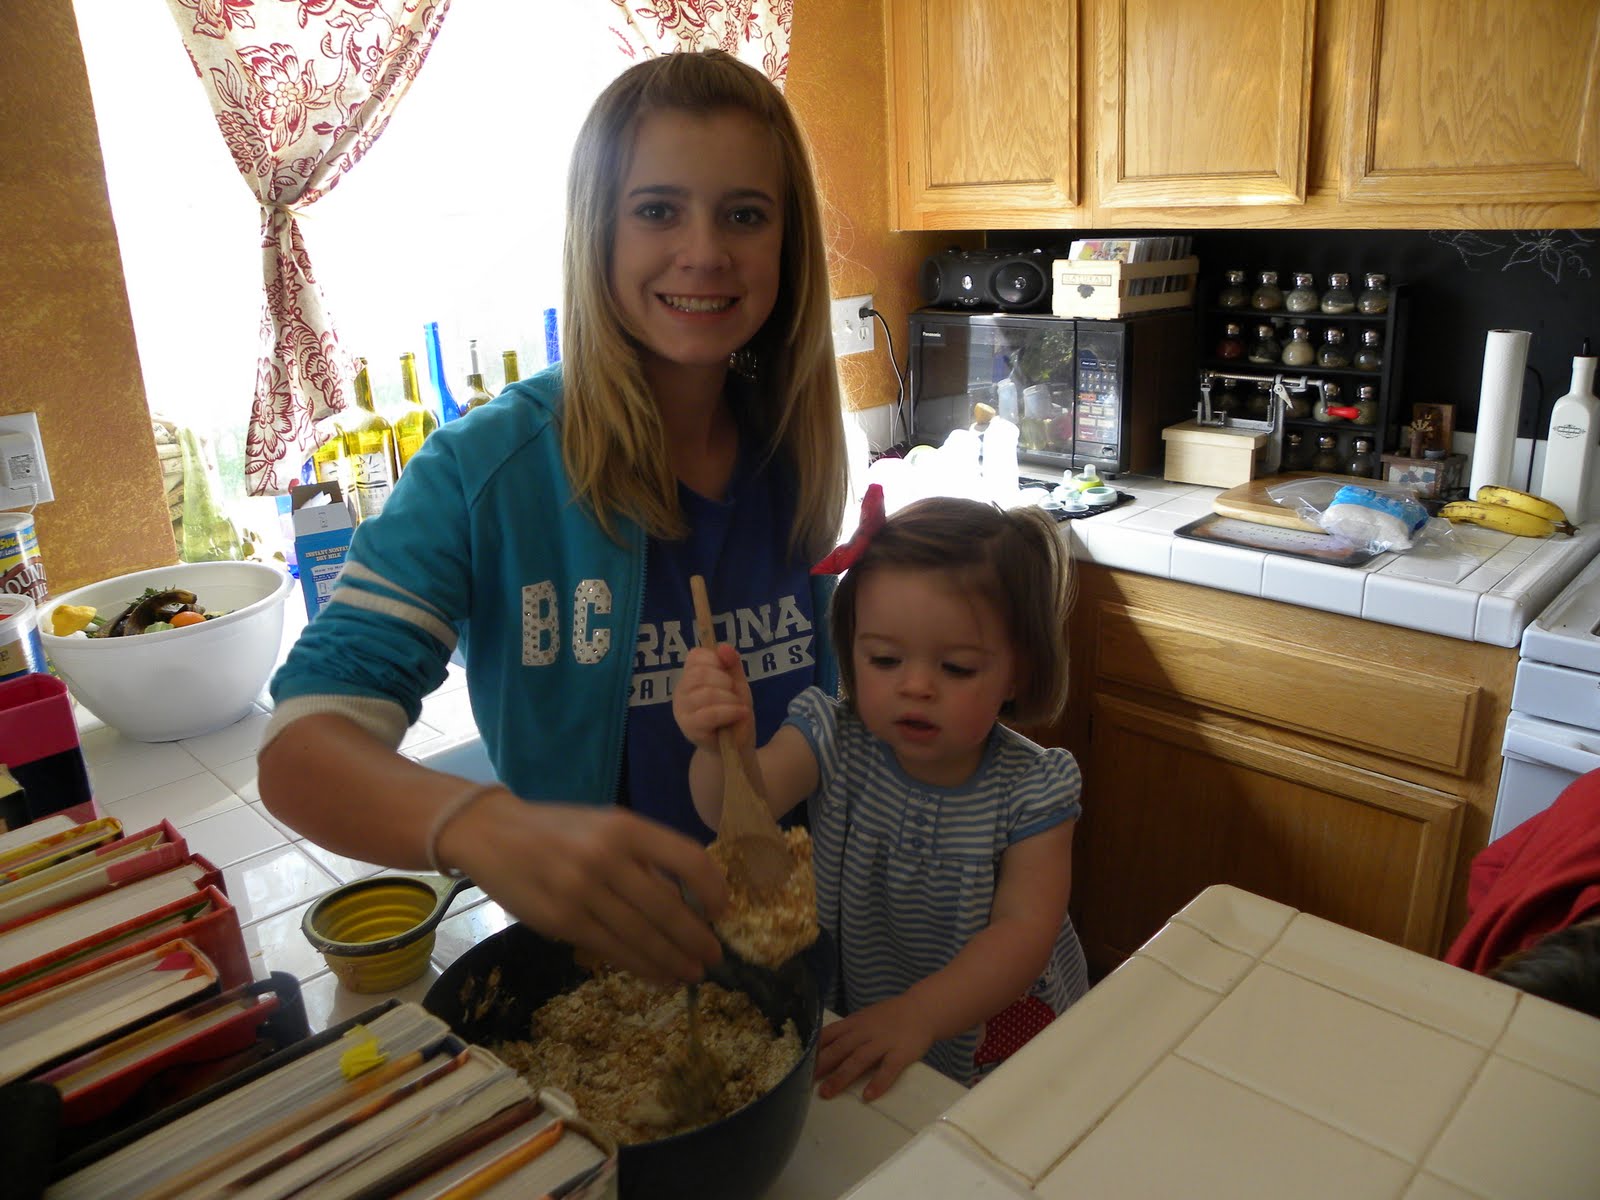

 1 cup of water


